https://i.pinimg.com/564x/00/78/ca/0078cae44f7faee0c842669498259257.jpg
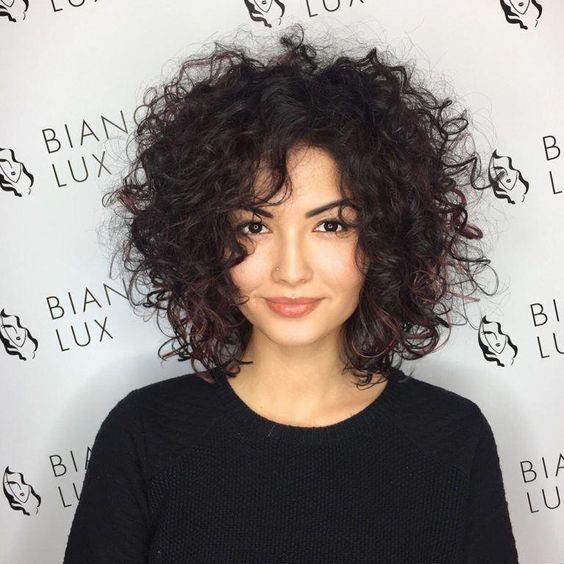
It might sound too good to be believed, but amazing curls are right within your grasp. If you’re anything like us, you like to see results fast. Fortunately, you’re in the right place. This is how to get amazing curls in one week. Seriously, just seven days to fabulous curls! We’re sure you’ll love these easy tips and tricks to really make your hair pop.
How To Get Amazing Curls In One Week
Day One: Quit Shampoo
If you’ve been toying with the idea of tossing out your shampoo, now’s the time to revisit that notion. Shampoos strip your curls of natural oils, leaving behind dry, lifeless strands. To get your best curls, you need to make the switch to a low or no poo. Or, you can opt to co wash instead. Either way, your curls are sure to thank you for making this switch.
Day Two: Sleep In A Mask
If your curls aren’t looking the best they can, odds are your strands are somewhat damaged. Therefore, you’re going to want to give your strands some extra TLC. Start by applying a hydrating, intensive care curl mask to your freshly co washed strands. Be generous, and make sure all your curls are completely coated. Then, cover your hair with a plastic shower cap and leave the mask on overnight. This will allow the mask ample time to really hydrate and soften your strands.
Day Three: Dry Correctly
If you’re still rubbing your curls dry with a towel, or blasting your strands into oblivion with a hair dryer, you’re in the right place. Now’s the time to start giving your curls a little TLC. Start by swapping out the terry cloth towel for an old, soft t-shirt. The band t-shirt your ex left at your place is a perfect choice. Lay it out on the bed, and flip your wet curls over onto it. Arrange them so the strands are in place, and then wrap your curls up. Allow your strands to dry for a few hours.
Day Four: Try A Diffuser
If you haven’t jumped on this bandwagon already, it’s time to get a diffuser. There are a variety of types out there, so take the time to select the correct one for the density and texture of your curls. Instead of allowing your hair to completely air dry, spend the time to gently diffuse your strands instead.
Day Five: Try A Protective Style
After you’ve practiced drying your strands, it’s time to give protective styles a try. The key here is to avoid styles that would further damage your hair (styles that are too tight) and styles that require heat. Some easy protective styles to try include braids, twists, Bantu knots, pony tails, and buns.
Day Six: Hands Off!
As tempting as it can be, now’s the time to keep your hands out of your hair. Touching your curls disrupts their natural pattern, as well as deposits oil from your fingers into your strands. When you can, keep your hands out of your hair; we’re looking at you, hair twisters!
Day Seven: Find A Curl Stylist
Finally, it’s time for a little self-care. This includes researching and making an appointment for a consultation with a curly hair stylist. Look for someone who has fabulous curls themselves, or has gone through extensive training in taking care of curly hair. This is someone you’ll want to have a longer term relationship with, so make sure you get along well with this person, and trust them. It’s ok to walk away if a stylist isn’t a good fit.